Homemade Simple Roast Chicken
Printable Recipe (click to expand)
Roast Chicken
Ingredients
Method
- Take chicken out of fridge and pat down with towel to remove any excess moisture.
- Generously season chicken with salt and pepper, then cover, and let sit at room temperature for about 2 hours so that the bird reaches room temperature.
- Pre-heat oven to 425° F.
- Rub butter all over chicken and inside the cavity, then lightly season with a little salt, pepper, and garlic powder.
- Take a whole lemon and place it directly in pre-heated oven for about 4 minutes.
- Remove lemon from oven and roll it back and forth with your hand to help the juices flow, then prick the lemon all over with a fork to help the juices escape, then place lemon inside chicken cavity with a bay leaf.
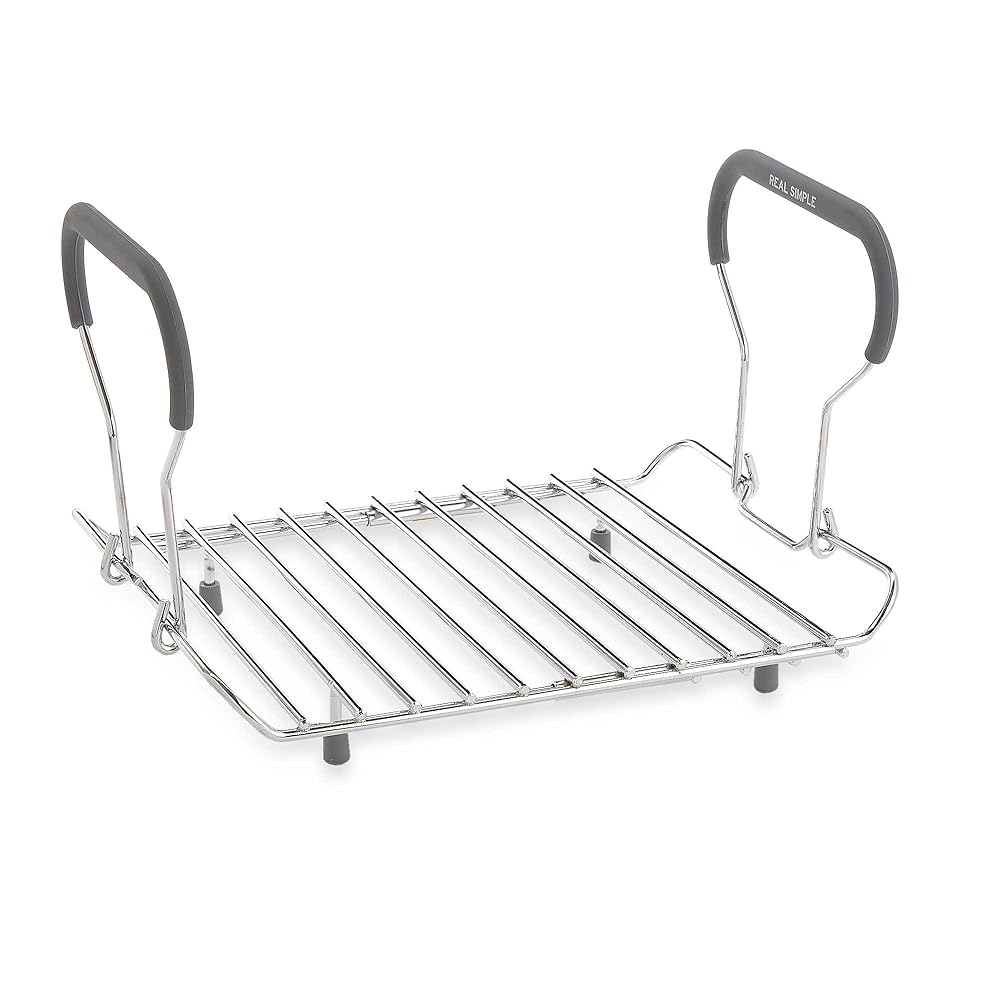
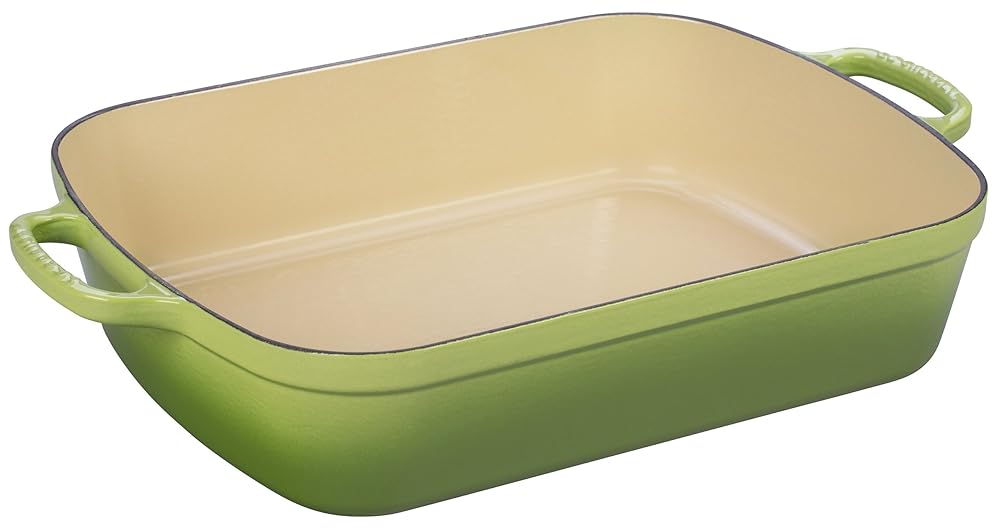
- Place onion, carrots and celery, thyme and garlic on the bottom on your roasting pan and drizzle with a little olive oil, then place roasting rack and chicken on top of the veggies.
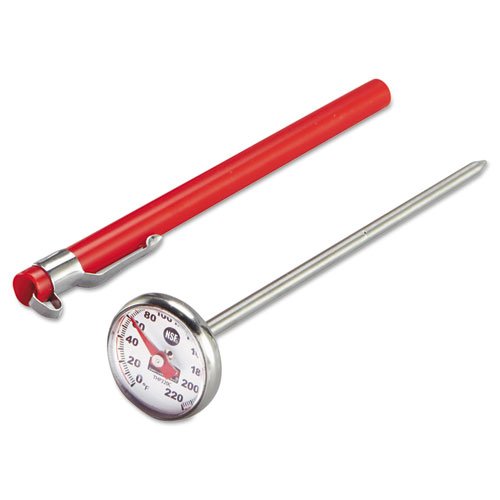
- Roast chicken until it reaches an internal temperature of165ºF, then remove from oven and let sit at room temperature for 15 minutes before serving.
Hey there Honey's and New-Bees!
Today I’d like to introduce you to the classic yet simple, Roast Chicken. An instant classic that is sure to satisfy most dinner guests, and not to mention a kitchen essential. Roast chicken is one of the easier dishes to master and make your own once you get the hang of it. That being said my journey with roast chicken has been a bumpy one…fun, frustrating at times, but a good learning experience.
Put lightly my first roast chicken was a disaster; it was dry, sloppy, undercooked, tasteless, and pale (yes it really can be all those things at once). It was every extreme of what can go wrong with a roast chicken. But after a little research (and practice) I’ve learned from my mistakes and have made significant progress and can now say that I’ve got it down pat.
So like everything let’s start with the basics and make a simple roast chicken 🙂
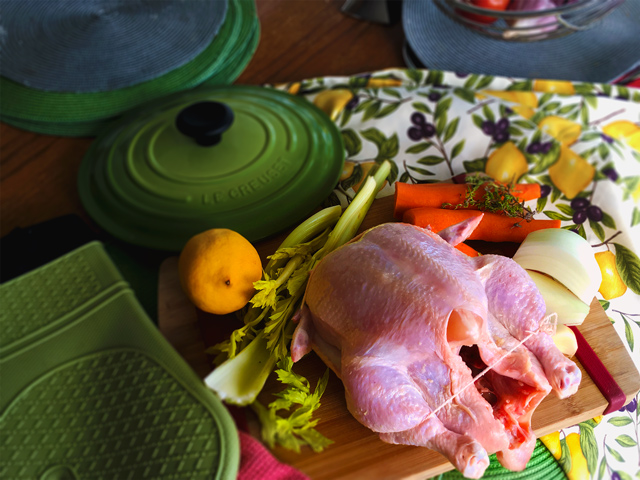
Step 1 – Prepping your Bird
Take your bird out of the fridge and give it a pat down with a paper towel to remove any excess water and moisture; if your bird is too “wet” when you cook it the skin will remain soggy and you won’t get that beautiful crispy skin.
Once you’ve removed the excess liquid, let your chicken sit at room temperature to dry out a little and allow it to reach room temperature. This is a crucial step and basic rule of thumb when cooking any meat – if you put your meat in the oven straight from the fridge the heat from the oven will dry out the outside before the inside is done, so by letting your chicken sit at room temperature for at least 20-40 minutes before you cook it you’re ensuring that your bird cooks through evenly.
While waiting for your bird to reach room temperature, generously season both the inside and out with some salt, pepper and a little bit of garlic.
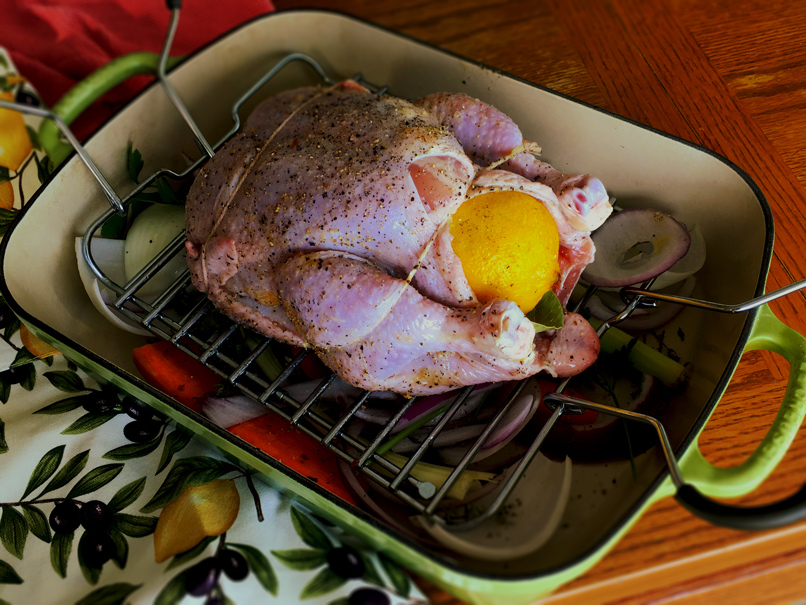
Step 2 – Roasting
Once your chicken has reached room temperature, take a whole lemon and place it in your warm oven for about 5 minutes. Once your lemon is warmed up, roll it back and forth on your countertop with the palm of your hand, then poke all over with a fork to allow the juices to release then place it inside the cavity of your bird with a bay leaf.
Transfer the bird to a roasting rack and place it in your roasting pan. Some people will tell you that a roasting rack is unnecessary, however, when you roast your chicken directly on the roasting pan the bottom half of the chicken will stew in its own juices which can make your bird a little greasy and soggy. Also by keeping it elevated on a roasting rack you are letting the heat circulate evenly around the chicken, permitting a more even cook.
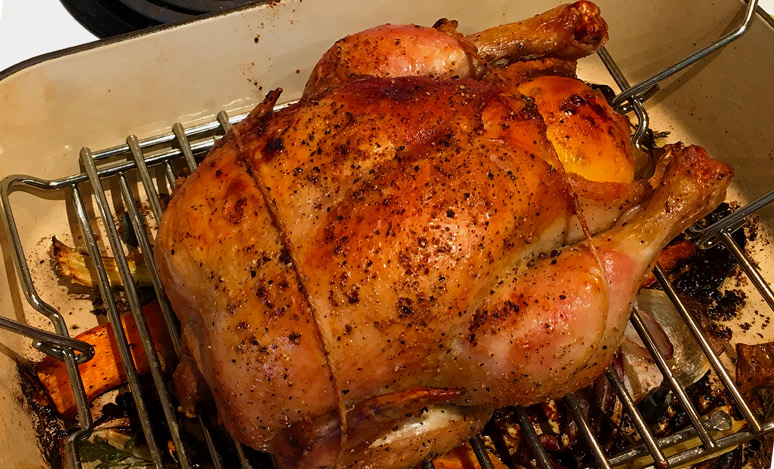
My biggest rookie mistake was covering my chicken while it cooked. When putting a lid on the chicken you are braising your chicken rather than roasting it, and you’ll end up with a mushy chicken with slimy, pale skin. To get that nice roasted flavour and crispy golden outside you NEED to make sure to keep the lid OFF, unless a recipe specifies otherwise. So put that roast in the oven set your timer for about 80 minutes and start prepping the rest of your meal :)!
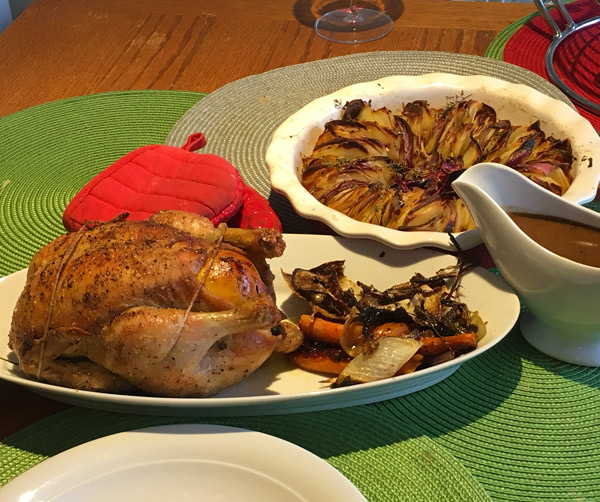
Step 3 – WAIT!
Once your chicken has reached 165ºF, and is a beautiful golden brown, take it out of the oven and let it sit ! As the smells fill your kitchen, it will be VERY tempting to start carving your bird and serving it right away, BUT DON’T!
You need to “rest” your meat for at least 15 minutes before you cut into it. This is one of the most crucial steps to follow – as tempted as you may be to cut into that beautiful bird once it comes out of the oven – DON’T! RESIST ALL TEMPTATION TO DO THIS! When your chicken comes out of the oven it continues to cook slightly as it cools and both the juices and meat start to settle back into the flesh; the second you cut that skin the juices will rush to the opening and pour out leaving you with a dry bird that needs a ton of gravy. Patience is key, and it would be a shame to go through all that work only to let impatience flub you in the end!
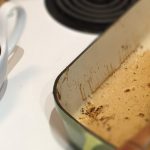
However, while you’re waiting you can make a delicious gravy to complement your masterpiece, using the drippings on the bottom 🙂


Chicken was really juicy and the lemon really infused the chicken, nice touch
I never pat dry my chicken lol and my chicken is always soggy too….will try patting down nxt time. Thx!
Thx for sharing, sounds great 🙂
Seems pretty straight forward, will try soon