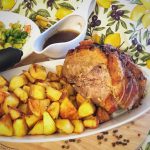
Homemade Roast Beef
Printable Recipe (click to expand)
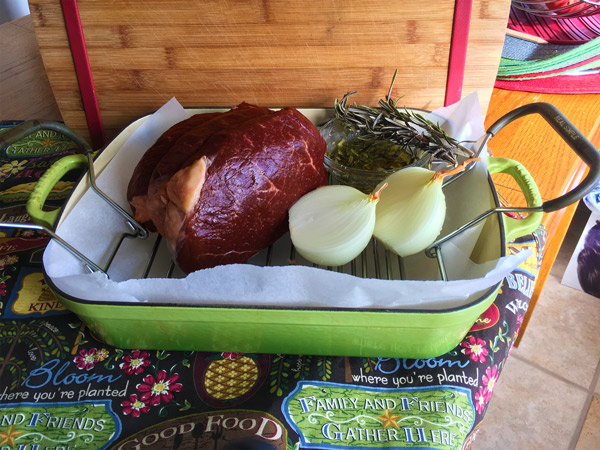
Ingredients
Method
- Generously salt roast and refrigerate for 24 hours.
- Remove roast from fridge 1-3 hours before cooking and let sit at room temperature.
- In small mixing bowl whisk olive oil with garlic, rosemary and worcester sauce, and coat on roast.
- Place beef on roasting rack and roast for 20 minutes at 500ºF, then reduce heat to 325ºF and continue to roast for at least another 40 minutes then check temperature periodically for readiness.
- Roast until beef has reached desired readiness temperature, remove from oven and let rest at room temperate for 15 minutes before serving.
Notes
Hey there Honey's and New-Bees!
I don’t know about you, but I personally love a good roast beef dinner with some thick gravy served on top. As a kid I always asked my mom to make roast beef for my birthday, and she was always more than happy to fulfill that request (thanks Mom).
Once I moved out and was living on my own, roast beef was never on the menu unless I went to my parents. I was completely intimidated to make it just because I didn’t think I could. It was only when a friend shared his own successful first attempt at making roast beef that I realized it’s actually pretty simple. Roast beef is actually one of the best and easiest roasts for any new cook to learn since it’s low maintenance once in the oven, but also because you don’t need to worry as much about the cooking temperature for safety reasons as you would need to be with a chicken or a pork – if it’s a little undercooked in the center then you’ve pleased your guests who like a rare roast beef 😉
My first roast was by all accounts pretty successful, and over the years I’ve gradually picked up several tips and skills (which I’ll share with you) that have really upped my roast beef game.
So go ahead, give it a try and let me know how it turns out 🙂
Step 1 – Salt your Meat
One of the most important roast beef tips I’ve learned is to salt your meat WELL BEFORE cooking it. I’m not trying be cheeky, of course you’re going to salt your meat before it’s in the oven, but it’s important that you salt your meat quite a while before you plan on cooking it. Salting your meat ahead of time tenderizes the meat, and also allows the seasoning to seep in and produce a more robust flavour.
Try and aim to salt roast beef at least 24 hours ahead of time. Cover it and keep it in the fridge. If you don’t have time to salt that far in advance that’s perfectly ok, and you can salt it closer to cooking time, but just make sure that you do so at least 1 hour before cook time. Salting for less than an hour curiously has the reverse effect, as the salt doesn’t have enough time to penetrate the meat and you’ll end up with tough, dried-out meat :(.
Step 2 – Temper and Season
Before cooking your roast, take it out of the fridge 1-3 hours ahead of time and let it sit at room temperature on a roasting rack. This is called “tempering” your meat, and is a good rule of thumb to follow for most meats, especially larger pieces. Tempering ensures that your meat will cook evenly. If you put a cold piece of meat in the oven, the exterior will cook too quickly, the center won’t have a chance to cook all the way through, and you’ll end up with a dry roast.
While your roast is tempering, whisk together some olive oil, chopped garlic, and rosemary, then brush it onto your roast evenly. As a finishing touch generously coat the top with some coarsely ground black pepper and let it sit until it’s ready to roast. You can either do this right before you put it in the oven, or let the marinade sit on your roast for a couple of hours while it’s tempering (which I prefer).
Step 3 – Roast and WAIT!
Once the roast has tempered, it’s time to place it the oven, which has been pre-heated to 500ºF. Roast for about 20 minutes, then reduce heat to 325ºF.
While it’s roasting, it may be tempting to continuously open the oven door to check on it – DON’T! Constantly opening the oven (or even once or twice) releases a lot of heat, altering the temperature in your oven and adversely affects your cook time and temperature. So try to prevent opening the oven door at all unless absolutely necessary.
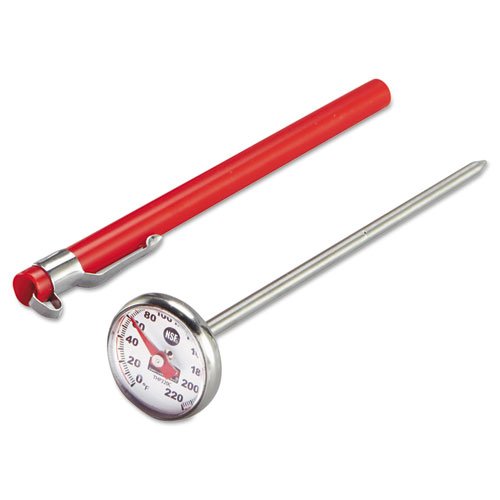
A traditional way to gauge how long your roast should cook has been to cook for 20 minutes per pound. However, this is pretty vague and doesn’t take into account how you want to serve your meat. For best results, you really want to check readiness by checking the temperature rather than counting time. Checking the temperature will give you the most accurate results, since there are a lot of dependencies when roasting, like the temperature of the meat prior to roasting, the cut, the discrepancies between ovens, and lastly personal preference as to how you like your meat. As I mentioned earlier, you don’t want to keep opening and closing your oven, but check on your roast after about an hour and 15 mins to check the temperature with a meat thermometer. I’ve included a temperature guide at the end of this post for your own reference to make things a little easier for you :).
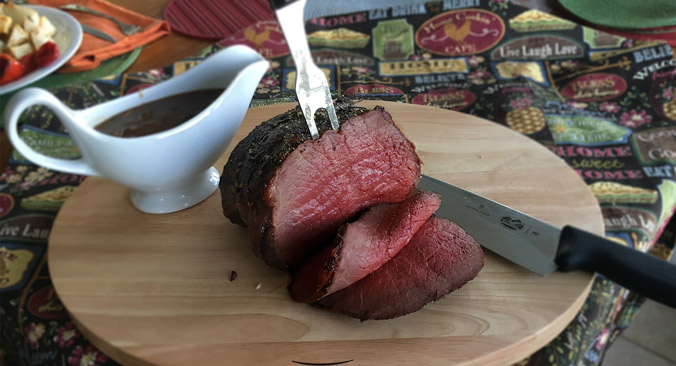
I prefer to serve my roast medium-rare to medium as I find it the best of both worlds, you can serve those who prefer their meat well-done the ends (which will be more well-done), while satisfying your guests who prefer a rarer cut the center pieces. Remember to keep in mind that it’s always better to server on the rarer side rather than well-don when serving to guests. Someone who likes their meat rare or medium rare will not enjoy a well done roast (trust me on this), and you can’t undo over-cooked meat. However, if you have someone who prefers there meat a little more well done you can either serve them an end slice which, like I said, will be more well-done, or add their individual plate back in the oven to cook for a couple more mins (individual slices will cook very fast).
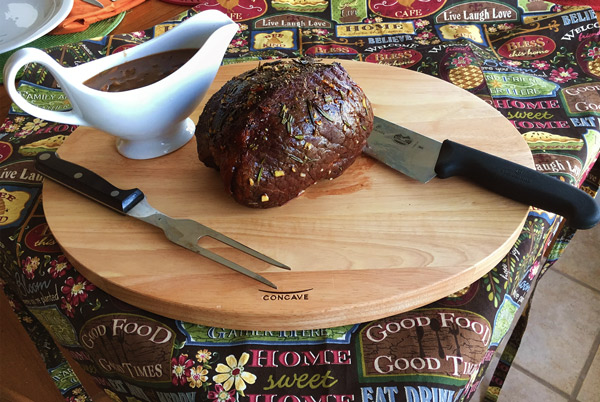
Once your meat has reached the desired temperature, take it out of the oven and WAIT! Just like how you need to let the roast temper before you put it in the oven, you need to let it temper after you take it out. Rest your meat for about 15-20 minutes to allow the juices to settle back into the meat; if you cut into it right away, all your juices will spill out immediately, drying out your roast. Patience is key here, so take that 20 minutes to make your gravy, and finish preparing the rest of your meal, then serve :)!
Roast Beef Readiness Temperature Before Resting:
Rare 115ºF-120ºF
Medium Rare 125-135ºF
Medium 140ºF
Medium-Well 140ºF
Well-Done 160ºF
* please note that these are not USDA temperatures which are more conservative due to food safety but most professional chefs cook to these temperatures.
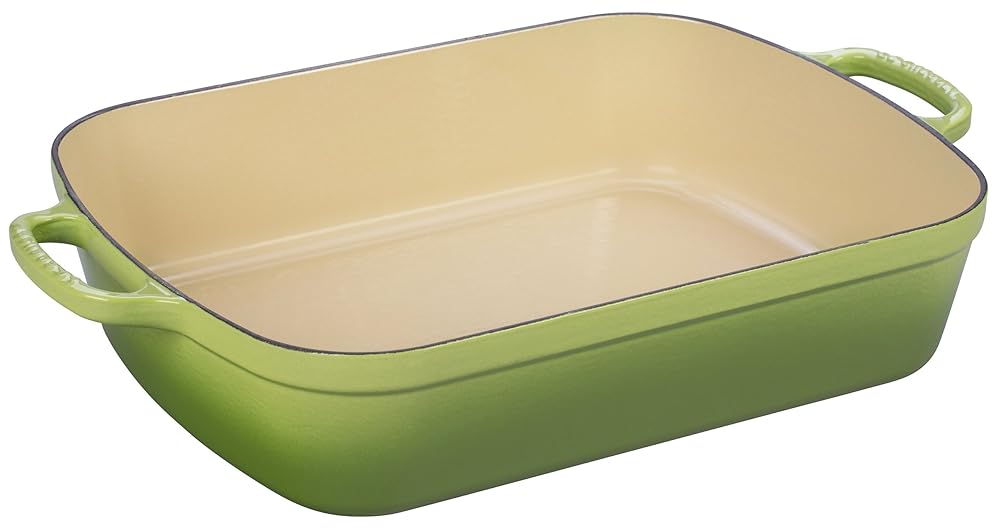
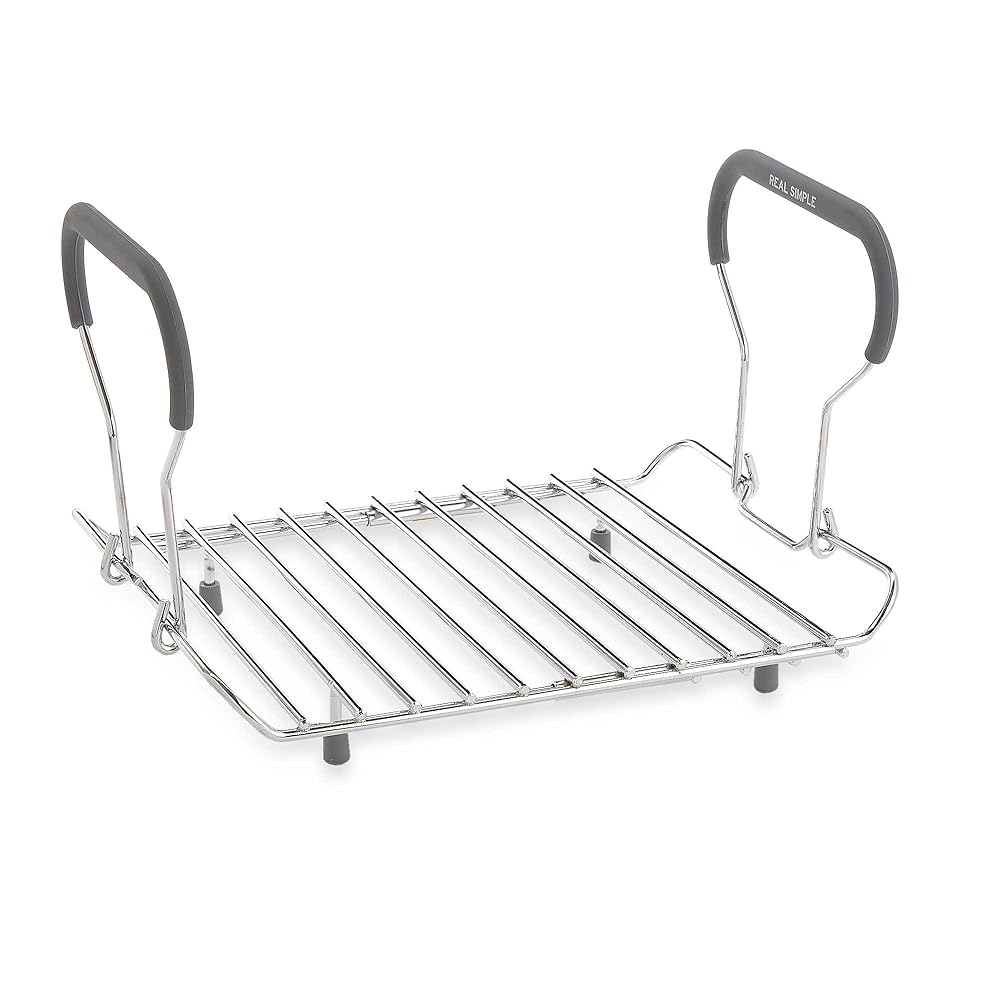
Items Featured in this Post:


Ingredients
Method
- Generously salt roast and refrigerate for 24 hours.
- Remove roast from fridge 1-3 hours before cooking and let sit at room temperature.
- In small mixing bowl whisk olive oil with garlic, rosemary and worcester sauce, and coat on roast.
- Place beef on roasting rack and roast for 20 minutes at 500ºF, then reduce heat to 325ºF and continue to roast for at least another 40 minutes then check temperature periodically for readiness.
- Roast until beef has reached desired readiness temperature, remove from oven and let rest at room temperate for 15 minutes before serving.
Notes
If you liked this you'll love:
-
 Homemade Prime Rib Roast
 The easiest and juiciest roast! Always a crowd pleaser!
 -
 Homemade Gravy from Scratch
All you need is a little flour, water, drippings, and love ❤️
Homemade Gravy from Scratch
All you need is a little flour, water, drippings, and love ❤️ -
 Homemade Lemon Tarragon Chicken
A wonderful marinade using fresh lemon and herbs.
Homemade Lemon Tarragon Chicken
A wonderful marinade using fresh lemon and herbs. -
 Homemade Pork Leg Roast
The perfect weekend roast!
Homemade Pork Leg Roast
The perfect weekend roast! -
 Easy Roasted Potatoes
A very simple side dish that every cook should know!
Easy Roasted Potatoes
A very simple side dish that every cook should know!
Not only did I impress my gf by making roast beef receipe for dinner the other night but made this dish a couple nights later with the leftover beef which we had for dinner and lunch a couple days later. great use of leftovers and really helped stretch the value out of that roast.
My boyfriend doesn’t like rosemary so I used some fresh thyme instead, turned out really well.
Can’t wait to try this out !!