Homemade Gravy from Scratch


Hey there Honey's and New-Bees!
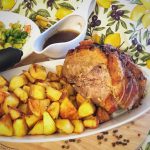
Today I want to talk to you about gravy! As much as I love a homemade roast, the gravy is always my favourite part… Like most things, I used to think gravy was super-complicated to make, or that it was a packaged powder you mixed with water. Well, it’s not any of that…
Gravy is SUPER easy to make, and you definitely don’t need to go out and buy those salty processed packages. All you need is a little flour, water, your roast drippings, and thats pretty much it…. Simple right ?!
So now that you’ve made your roast and it’s resting, let’s use up those drippings and make a gravy !
Step 1 – Collect your Drippings
While your roast is resting, pour your drippings into a measuring cup – that’s it… Doesn’t really get any easier 😊. The flavor from the drippings will give your gravy a beautiful taste and that’ll pair wonderfully with your meat. However, don’t worry to much if your roast didn’t have many drippings, a little really goes a long way here and worst case scenario you can always add a little butter and seasoning (usually you won’t and the dripping are more than enough).
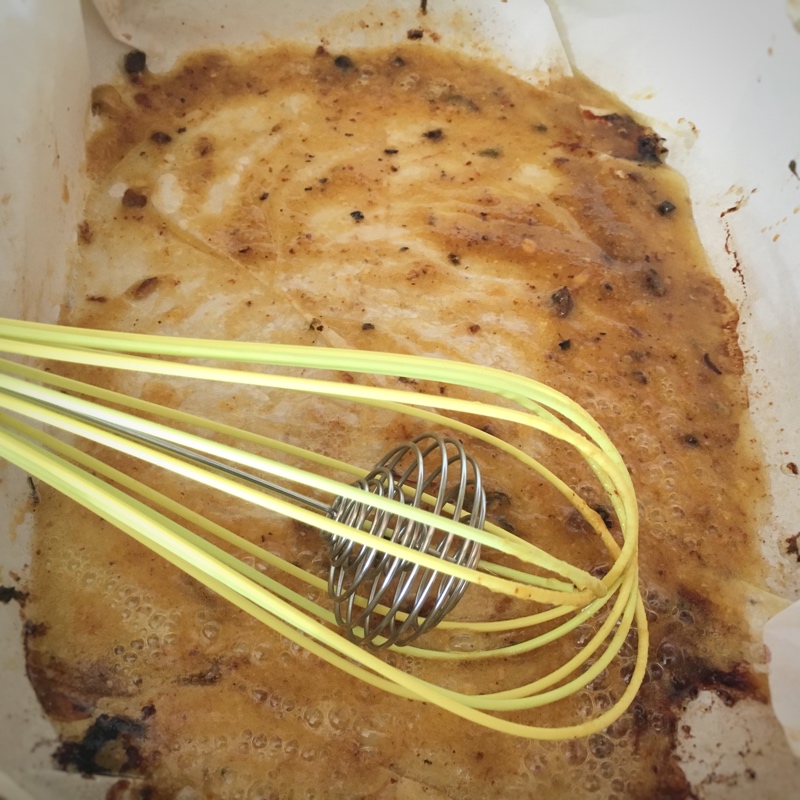
Step 2 – Make your Roux
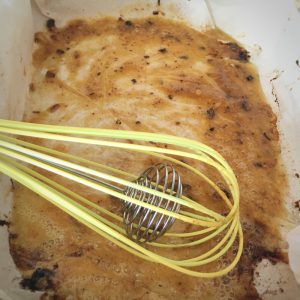
So take a small sauce pan add your roast drippings (if your roast was very lean and you don’t have enough fat just add a little butter and let it melt slowly – you don’t want to burn it) and let it simmer for a moments, then add tablespoon of flour. The flour serves as your thickening agent, but you really don’t want to add too much. For the longest time I was adding equal parts flour to fat and my gravy was always SUPER thick and didn’t pour nicely which isn’t ideal for gravy, so remember a little goes a long way.
Whisk continuously for a few minutes until the ingredients are well blended, and cook until the mixture bubbles a little – this is your roux!
Step 3 – Add your Liquid
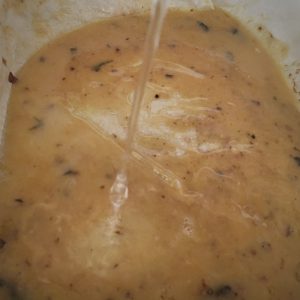
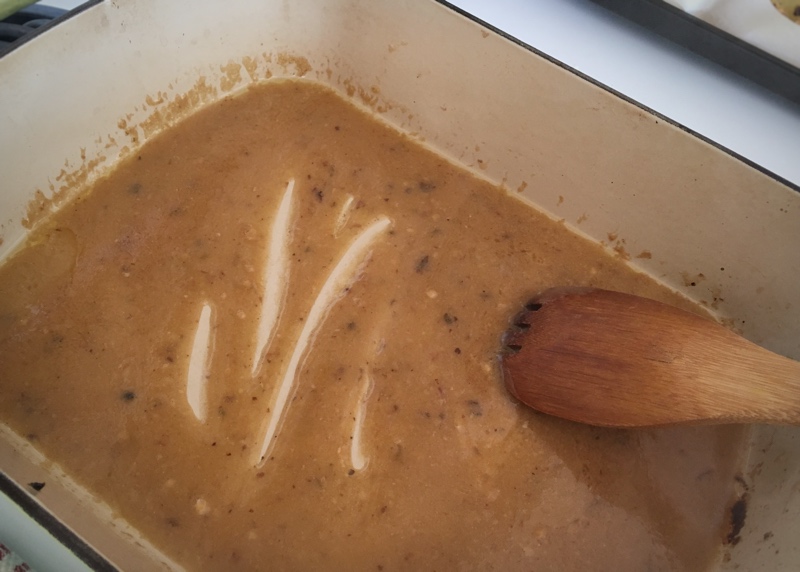
Once all your flour has absorbed and the liquid is bubbling gradually add your liquid and continue whisking. Depending on your personal preference you can use stock, water or a combination of both. Personally, I like to do a half and half combination of water and stock, but the choice is yours and use what is most convenient for you.
Regardless of what type of liquid you use it’s important that you add the liquid gradually; if you’re too hasty and pour everything in at once there’s a good chance your gravy will be clumpy. Keep stirring for a few minutes making sure to scrape the bottom of the pan as your gravy thickens. This should only take about 3-5 minutes and if you notice the gravy is to thick for your liking just add some additional liquid.
Once the gravy reaches your desired thickness, add a little salt and some fresh herbs to enhance the flavour but usually the flavour from the drippings is more enough. Pour into a gravy boat and voila your done!
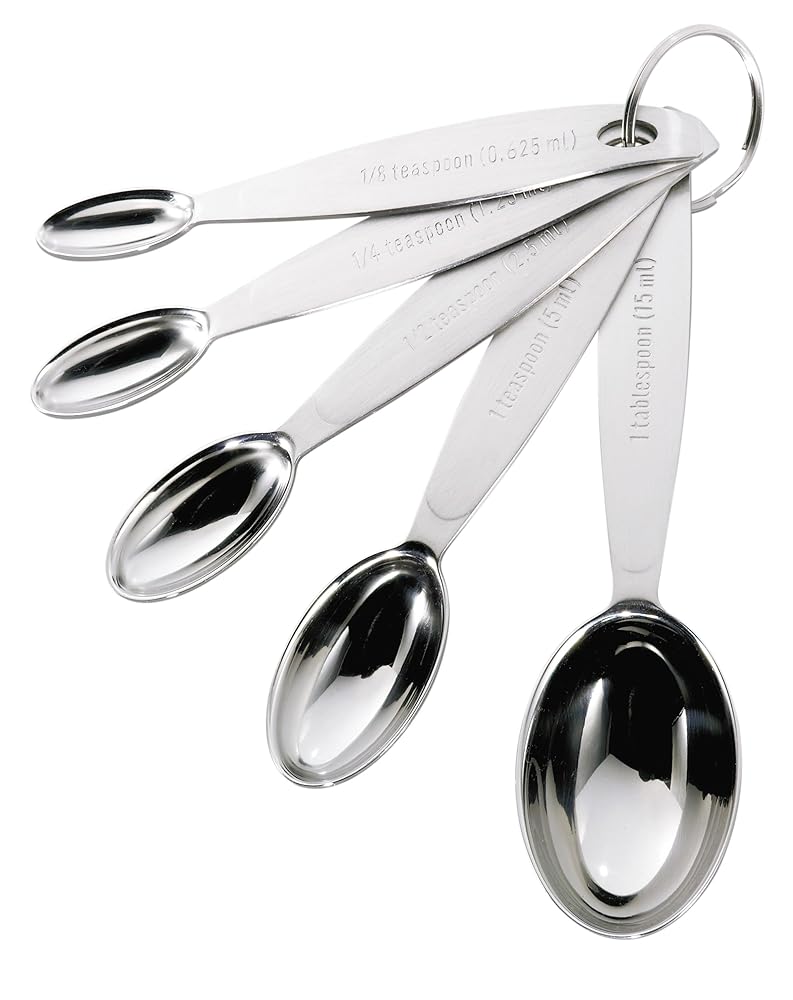
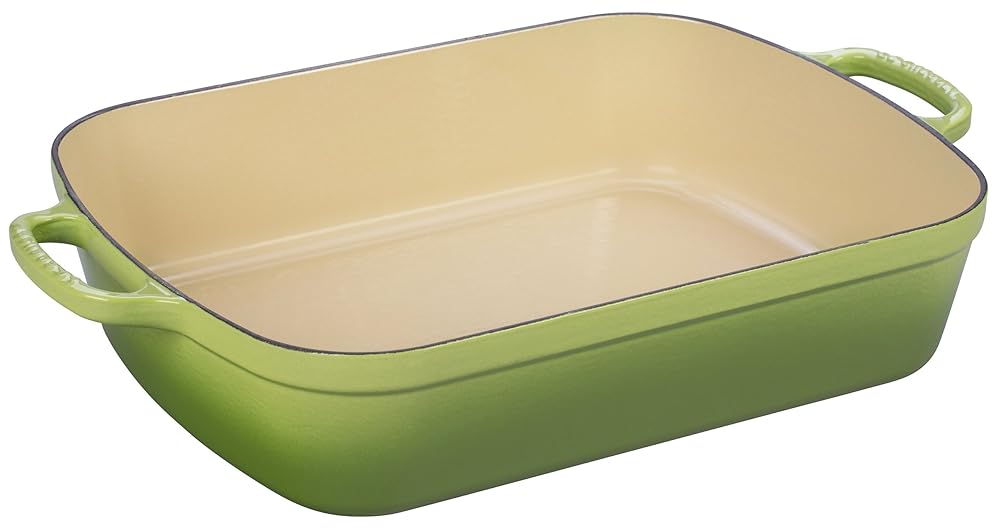
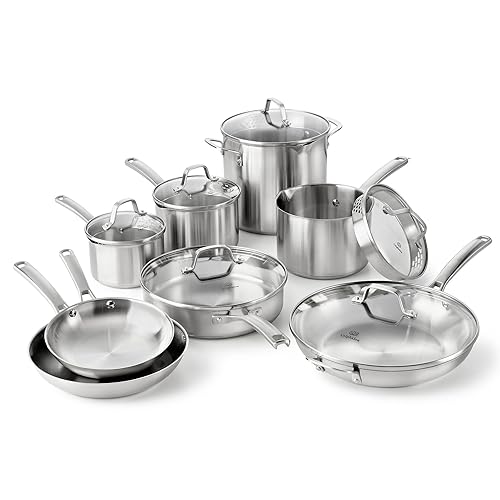
Items Featured in this Post:


"If
-
 Homemade Pork Leg Roast
 The perfect weekend roast!
 -
 Homemade Prime Rib Roast
The easiest and juiciest roast! Always a crowd pleaser!
Homemade Prime Rib Roast
The easiest and juiciest roast! Always a crowd pleaser! -
 Homemade Simple Roast Chicken
An instant classic that's sure to satisfy most dinner guests; not mention an essential in any cook's repertoire.
Homemade Simple Roast Chicken
An instant classic that's sure to satisfy most dinner guests; not mention an essential in any cook's repertoire. -
 Homemade Roast Beef
A must have dish every cook should know.
Homemade Roast Beef
A must have dish every cook should know.
since moving to canada one of the food i enjoy once in awhile is a poutine! never made gravy in my life to this will be a good try to do with poutine!
This looks super easy! I’ll keep it in mind next time I need gravy 🙂
I love to make homemade gravy. This looks really easy and super delicious.
This reminds me of being allowed to make the Sunday Roast gravy as a kid! It made me feel so grown up!!!
Yum! Homemade gravy is the best.
It sure is!